> For the complete documentation index, see [llms.txt](https://tk233.gitbook.io/notes/llms.txt). Markdown versions of documentation pages are available by appending `.md` to page URLs; this page is available as [Markdown](https://tk233.gitbook.io/notes/tools/using-the-leica-microscope-at-bwrc.md).
# Using the Leica Microscope at BWRC
## 1. Get Software
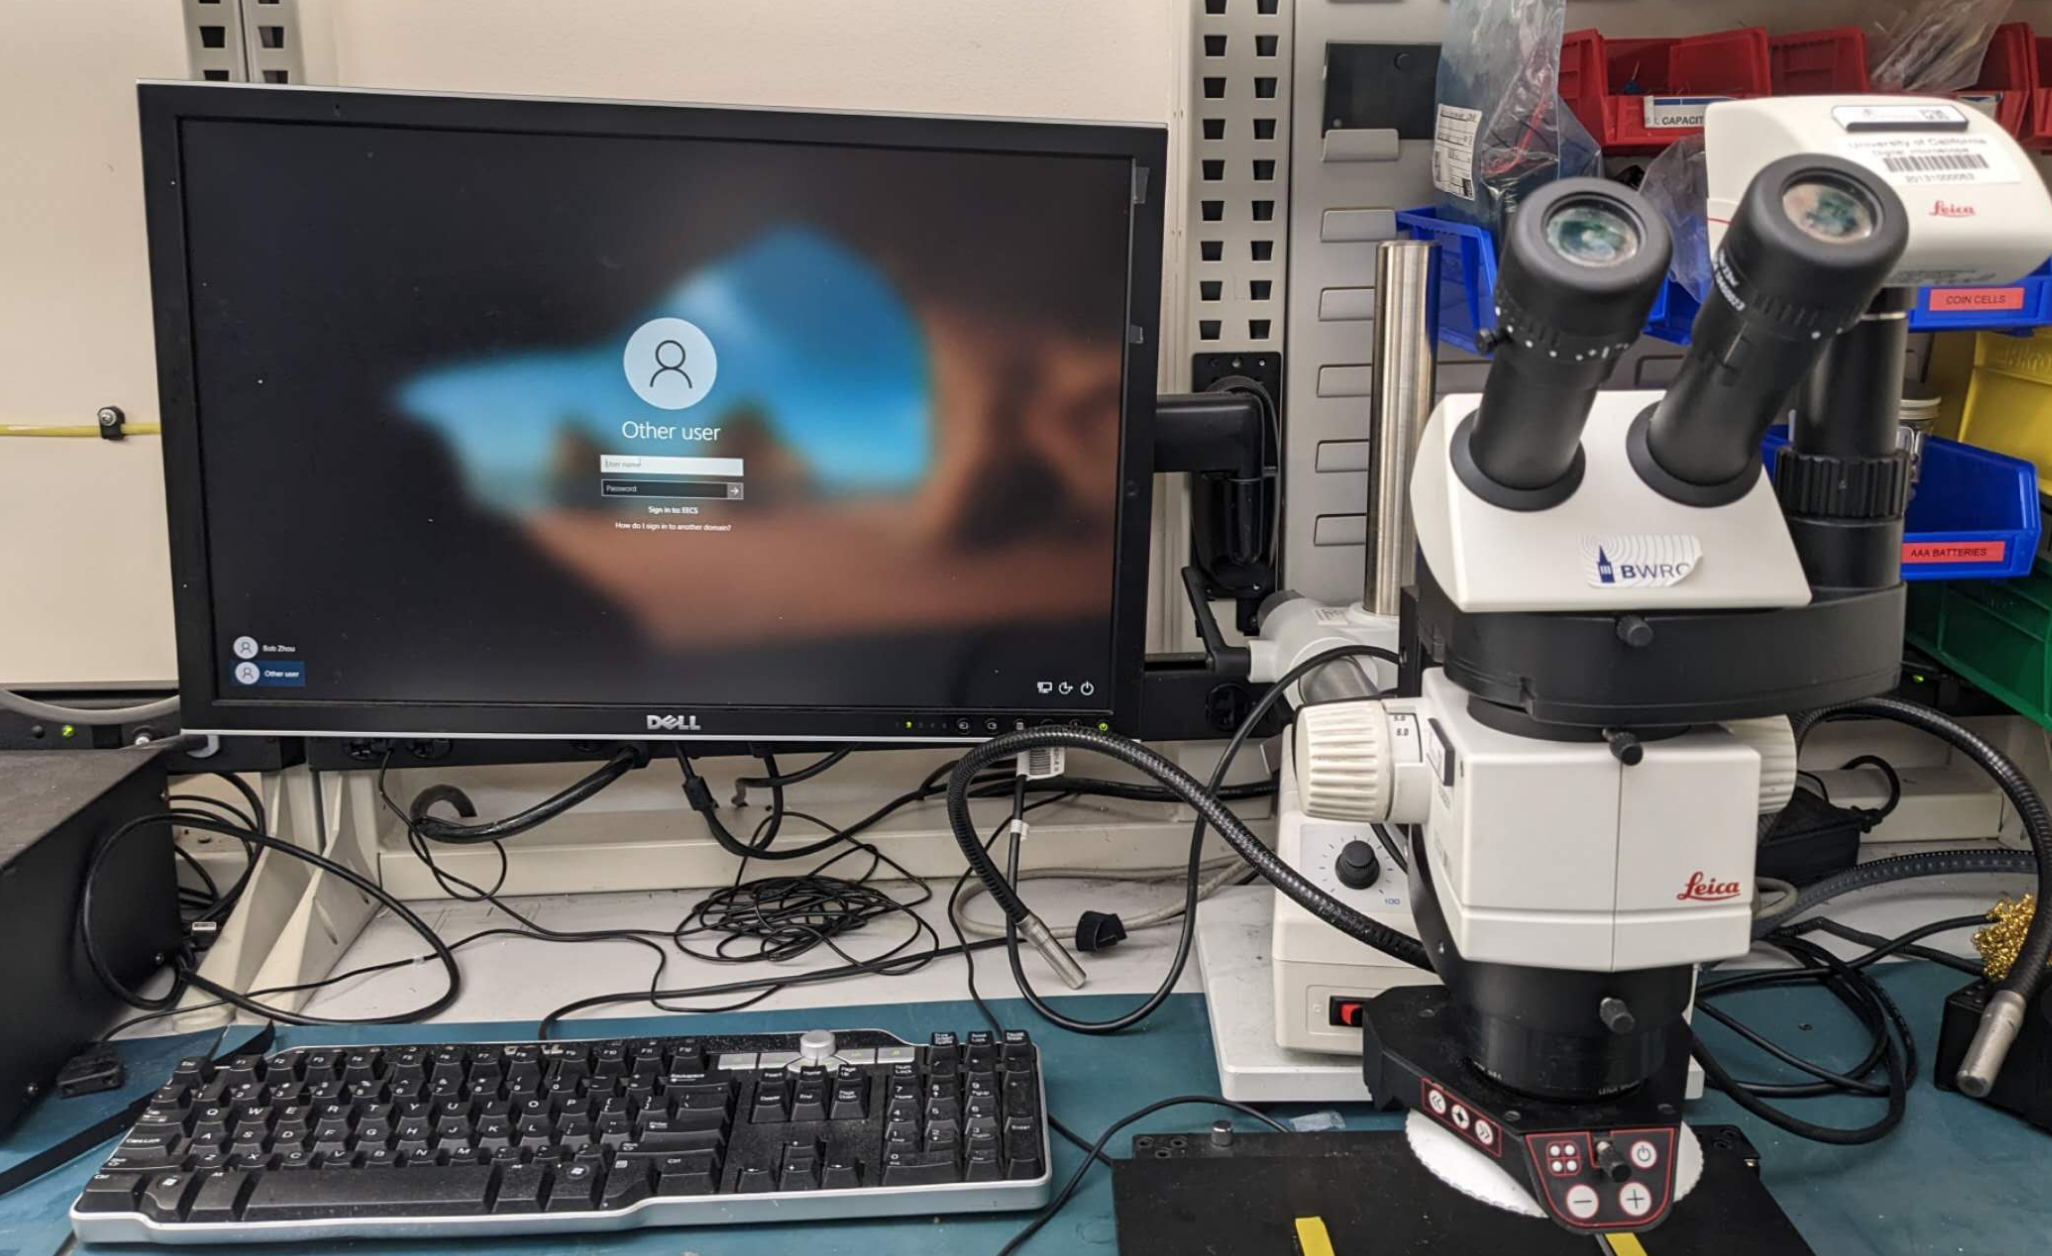
Log in to the computer.
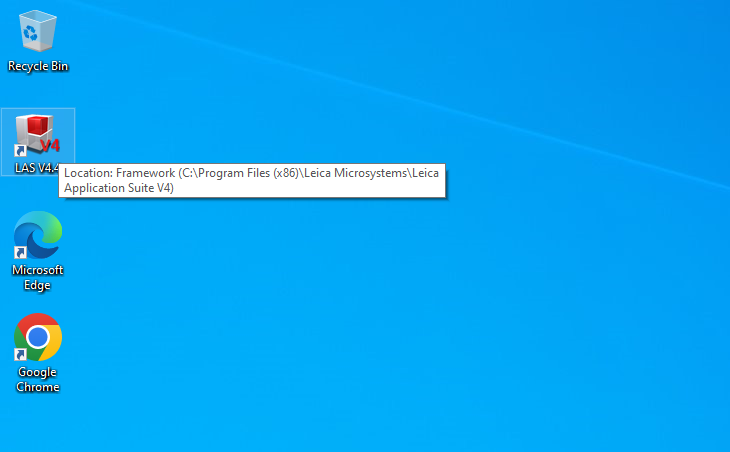
Open the "LAS V4.4" software.
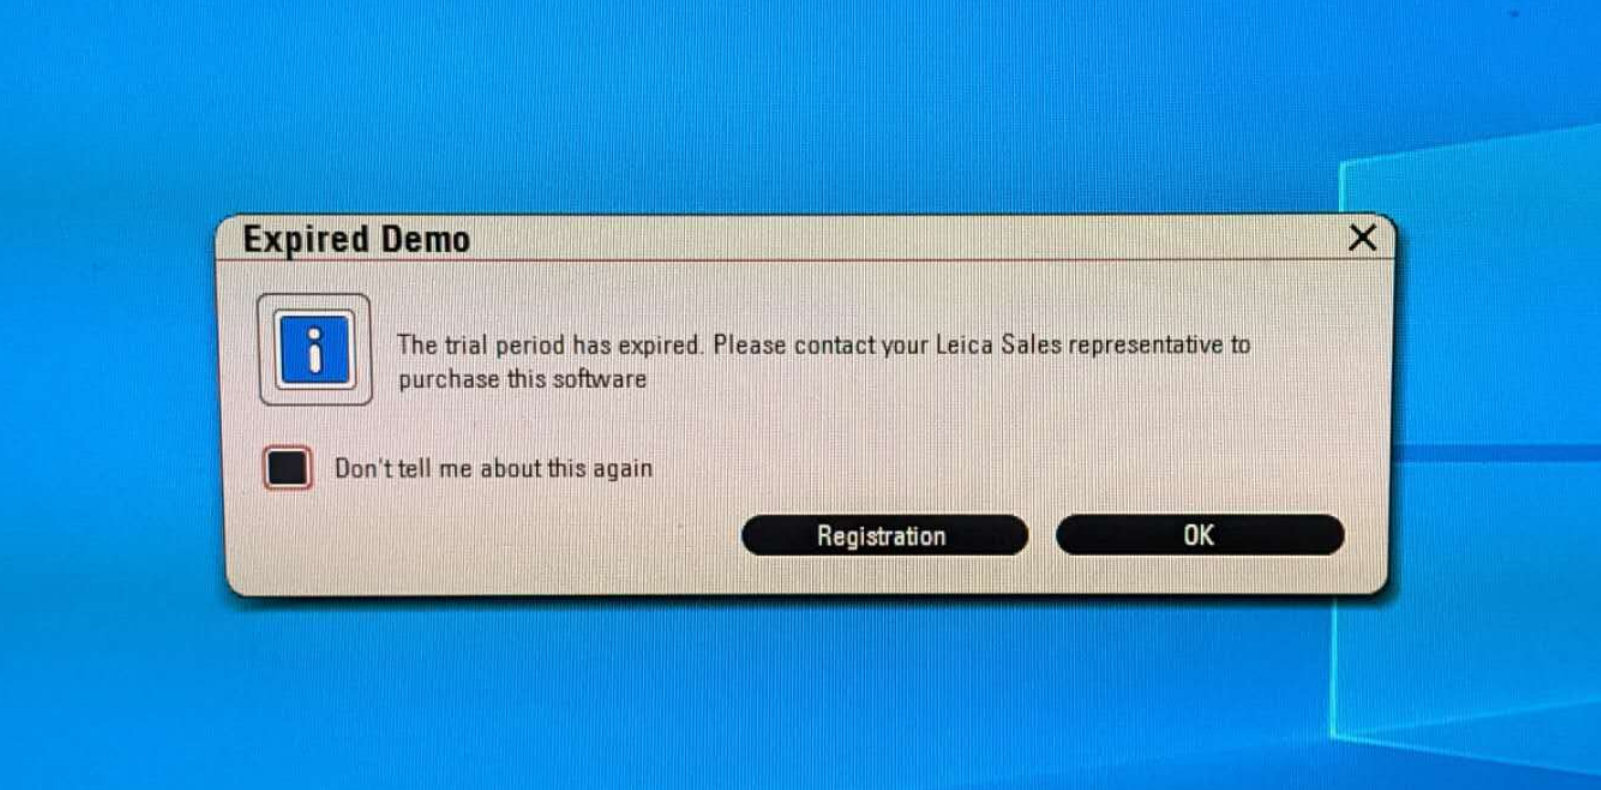
If this window pops up, click "OK".
This is the main UI of the software.
## 2. Calibrate White Balance
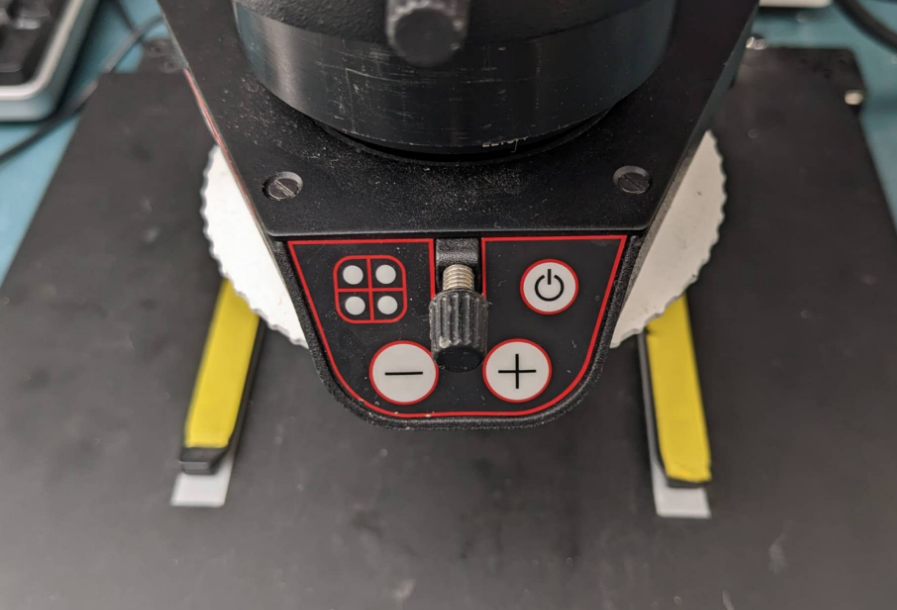
Turn on the light of the microscope by pressing the power button.
To do white balance calibration, put a white paper under the scope, and press this button on the software.
## 3. Operating the Microscope
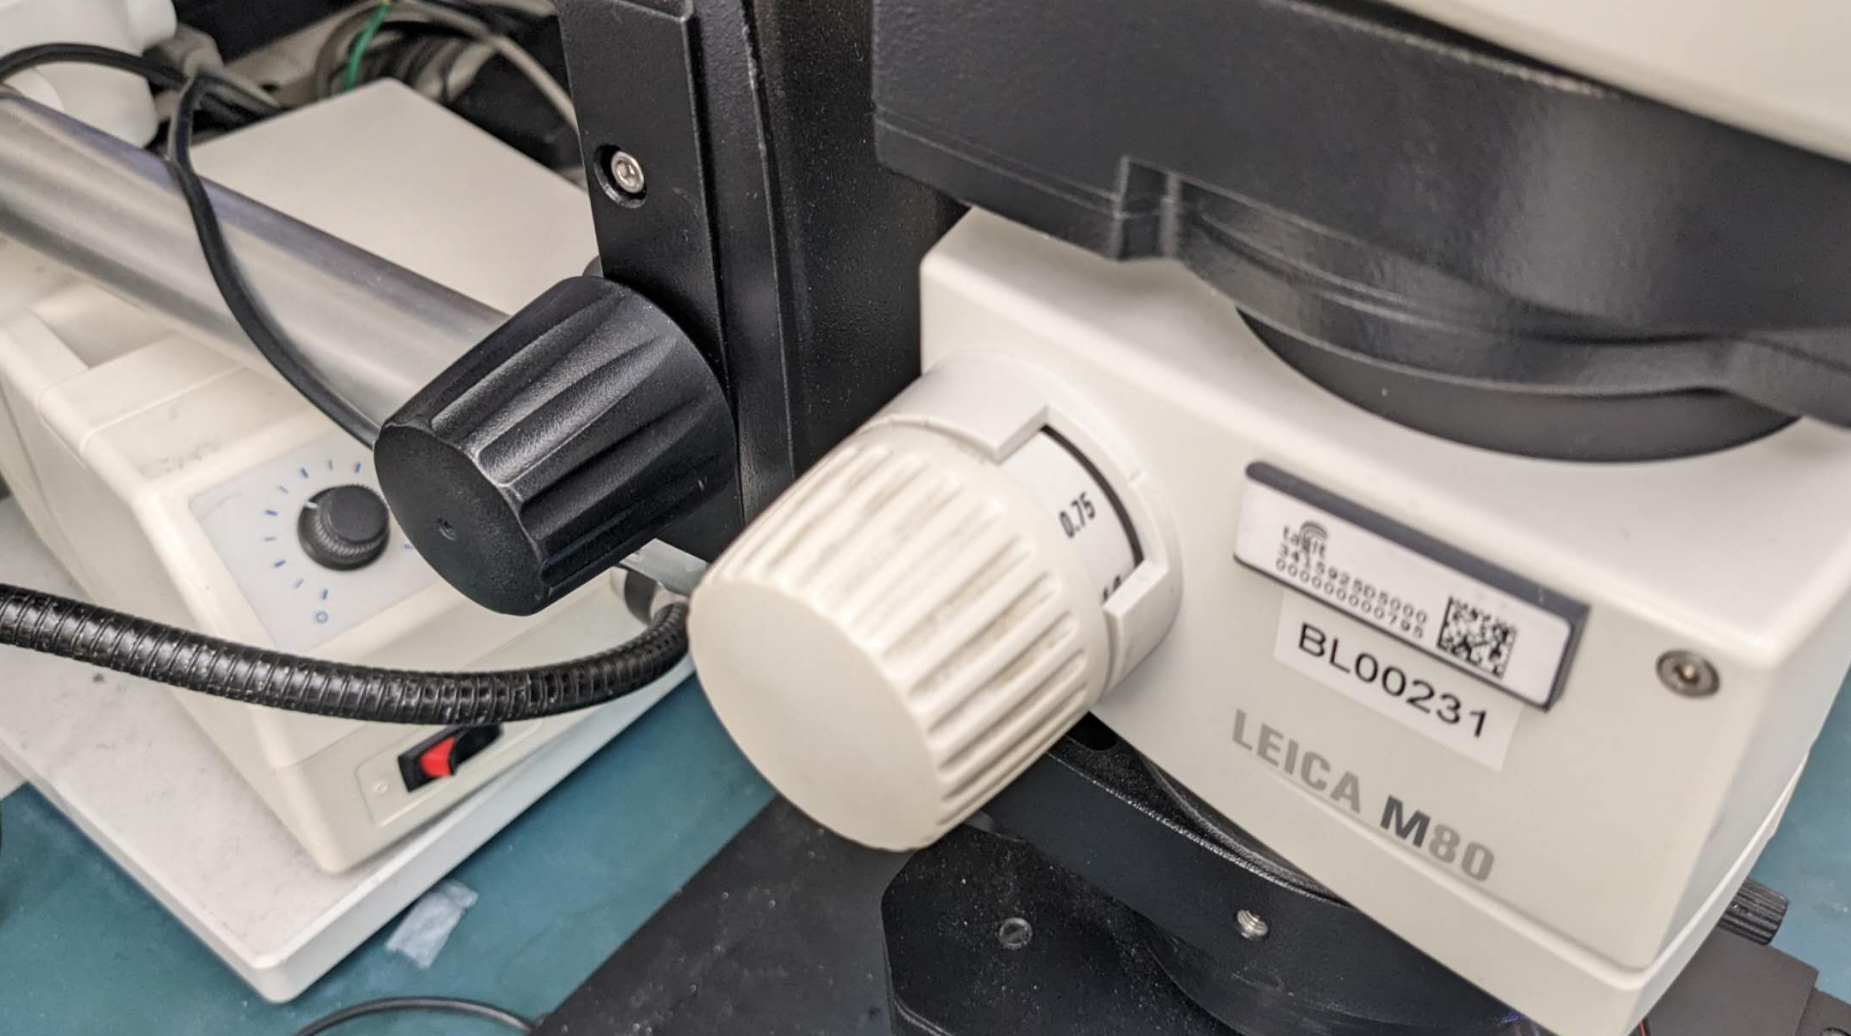
There are two knobs on the scope. The black one controls the focus length, and the white one controls the zoom.
## 4. Taking Photos
After framing the die in the center, click "Acquire Image (HDR)" button.
The image will be saved at `C:\Users\Public\Documents\Leica Application Suite\Images\` by default.
.png?alt=media)
.png?alt=media)
.png?alt=media)
.png?alt=media)